

Tutorial explains how to modify a simple chalk brush then use it to create a nice colorful chalk text effect.
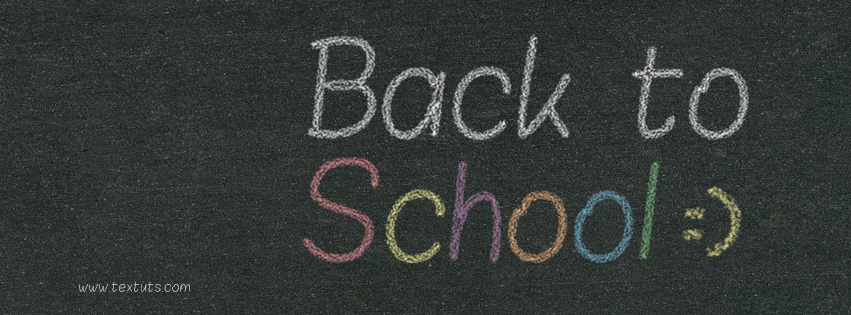
The Final Result:

Notes:
* the software used in this tutorial is Adobe Photoshop CS6, but you can use CS3+ versions as well.
* you might want to check the Basix Page to see some useful topics on dealing with Photoshop basics, such as loading palettes and some shortcuts.
Resources:
* Blank Vintage Chalkboard by Nicolas Raymond.
Step 1
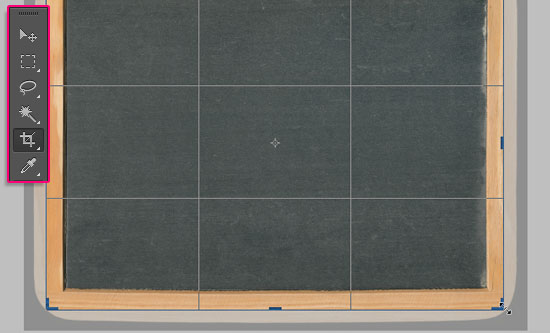
- Open the Blank Vintage Chalkboard image, then use the Crop Tool to get rid of the corners and the black background.
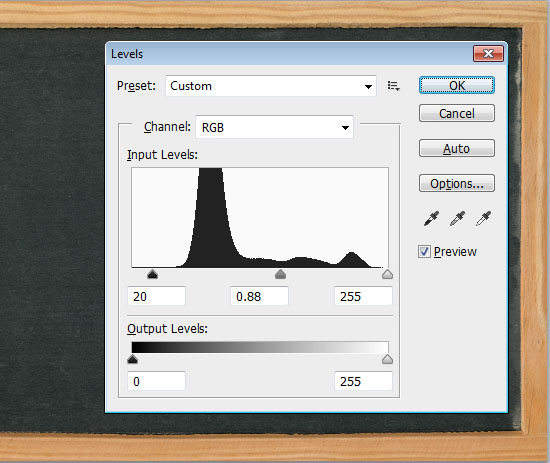
- Go to Image -> Adjustments -> Levels, then change the Shadows value to 20, and the Gamma value to 0.88. This will darken the image.
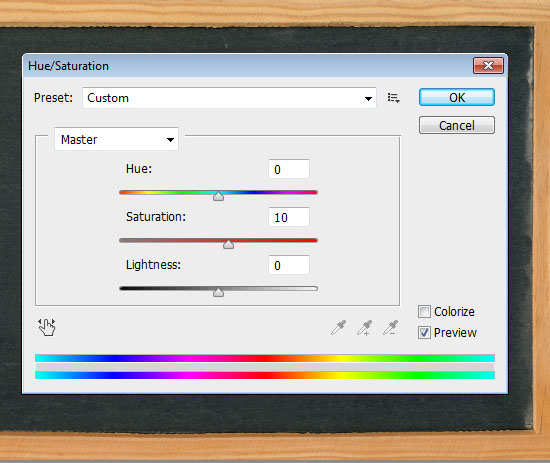
- Go to Image -> Adjustments -> Hue/Saturation, and change the Saturation value to 10. This will make the colors a bit more vivid.
Step 2
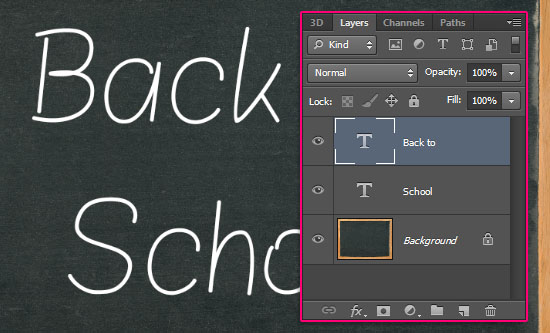
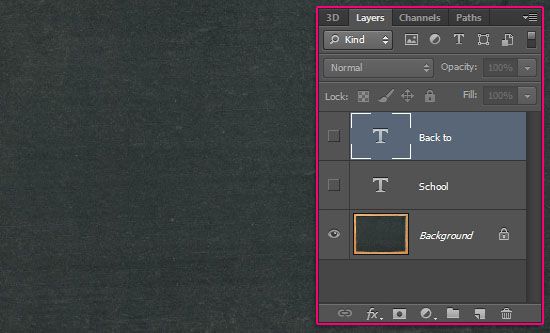
- Create the text in white using the font Blokletters Potlood, and the font size 270 pt.
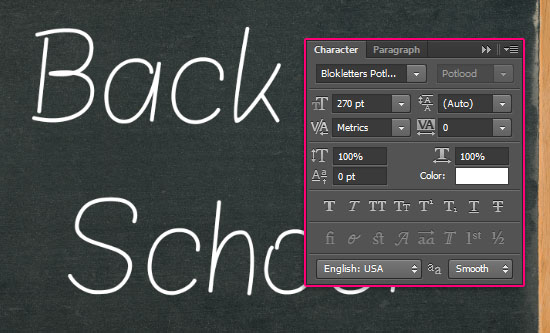
- The text in this tutorial is created in two separate layers to demonstrate using more than one color, but you can go ahead and write your text in one layer.
Step 3
Open the Brush panel (Window -> Brush), then modify the Settings as shown below:
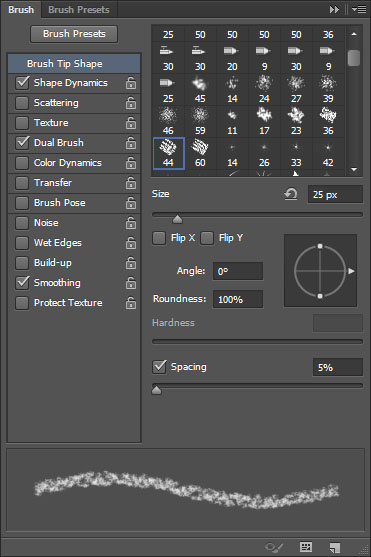
- Brush Tip Shape:
Choose the “Chalk 44 pixels” brush.
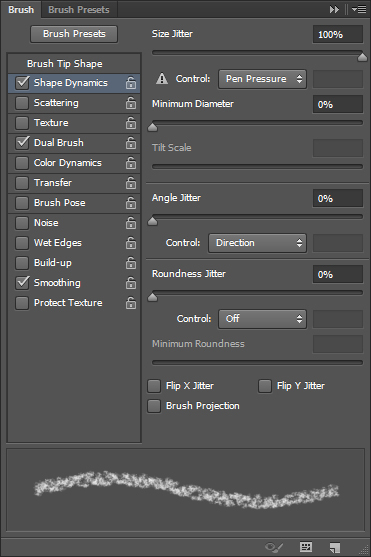
- Shape Dynamics:
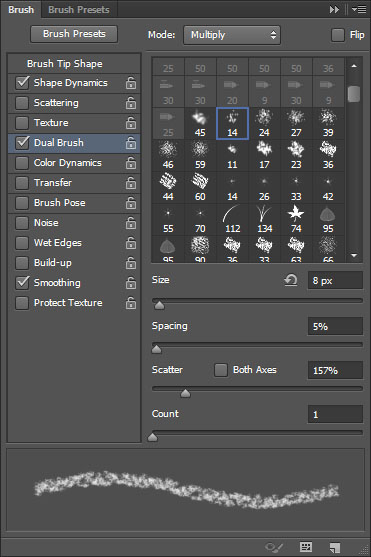
- Dual Brush:
Choose the “Spatter 14 pixels” brush.
Step 4
- Make the text layer(s) invisible by clicking the eye icon(s) next to them.
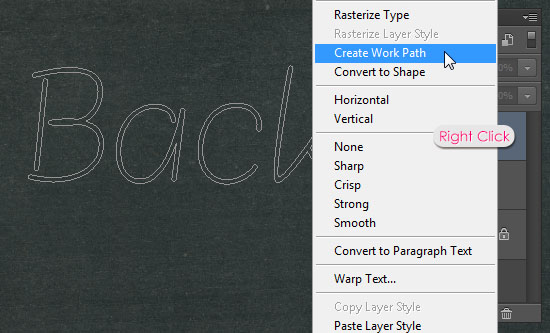
- Right click the text layer and choose Create Work Path.
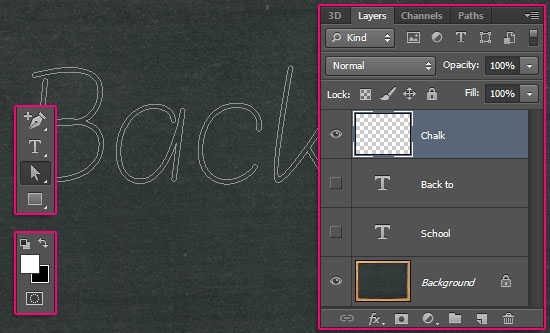
- Pick the Direct Selection Tool, set the Foreground color to White, and create a new layer on top of all layers then call it “Chalk”.
- Right click the work path and choose Stroke Path.
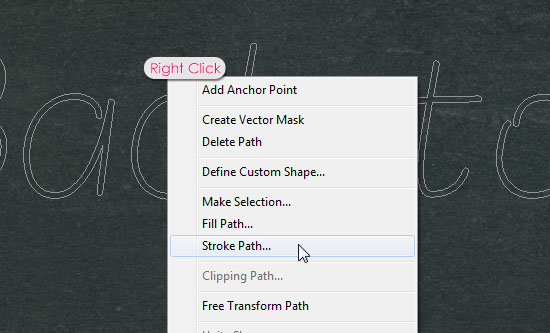
- Choose the Brush option from the Tool drop down menu, and make sure that the Simulate Pressure box is un-checked.
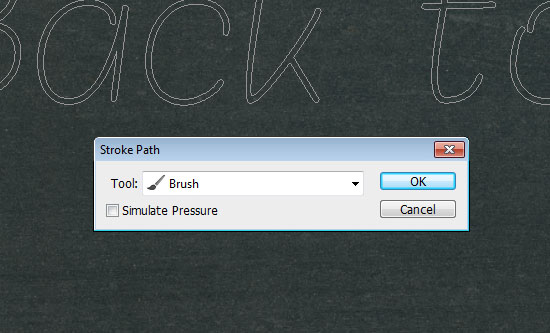
- This will stroke the path with the chalk brush. Hit Enter to get rid of the work path. Keep in mind that different font sizes might need different brush sizes.

Step 5
- To stroke each letter with a different color, you need to create the work path first, then, click and drag using the Direct Selection Tool to select the letter’s anchor points.
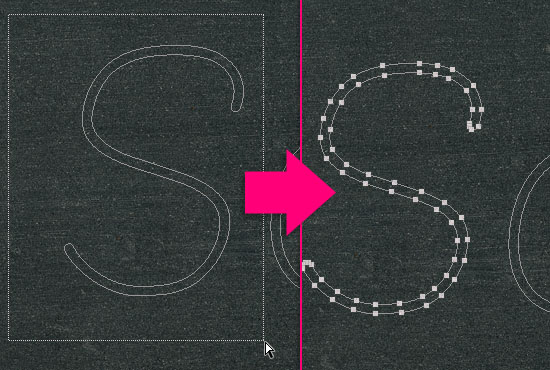
- Set the Foreground color to whatever color you like, lighter tones will look better. Then, stroke the path as you did previously. Don’t hit Enter until you’re done stroking all the letters.

- The colors used here are:
S – #f5989d
c – #fff799
h – #bd8cbf
o – #fdbd89
o – #79bcde
l – #82ca89

Step 6
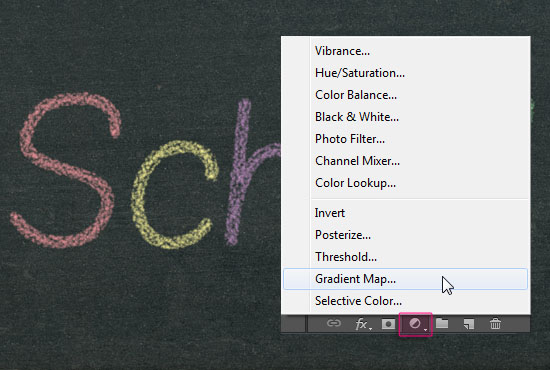
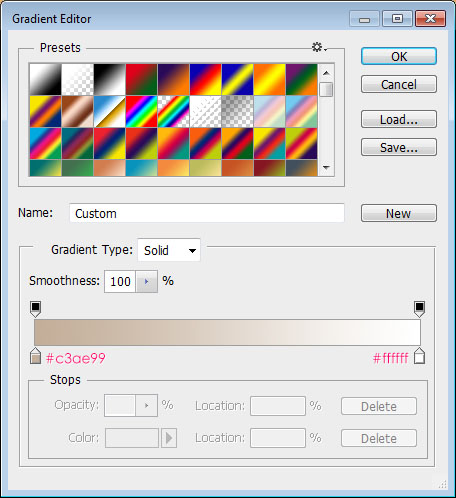
- The last thing we’re going to do is add a simple adjustment layer to enhance the coloring a little bit. To do so, click the Create new fill or adjustment layer icon down the Layers panel, and choose Gradient Map.
- Make sure that the adjustment layer is on top of all layers, then change its Blend Mode to Multiply and its Opacity to 40%.
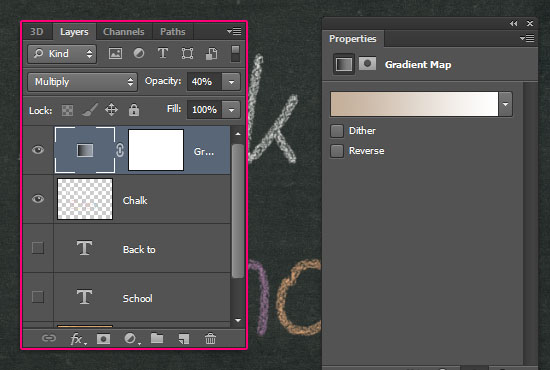
- The gradient uses two color, #c3ae99 to the left, and #ffffff to the right.
And you have your chalk text ready! Old school stuff, but timeless indeed
This is a Facebook cover version (Right click -> Save Image / as…).
Have a great school year
by: http://textuts.com


0 komentar:
Post a Comment